Introduction to Drone Photography Tips
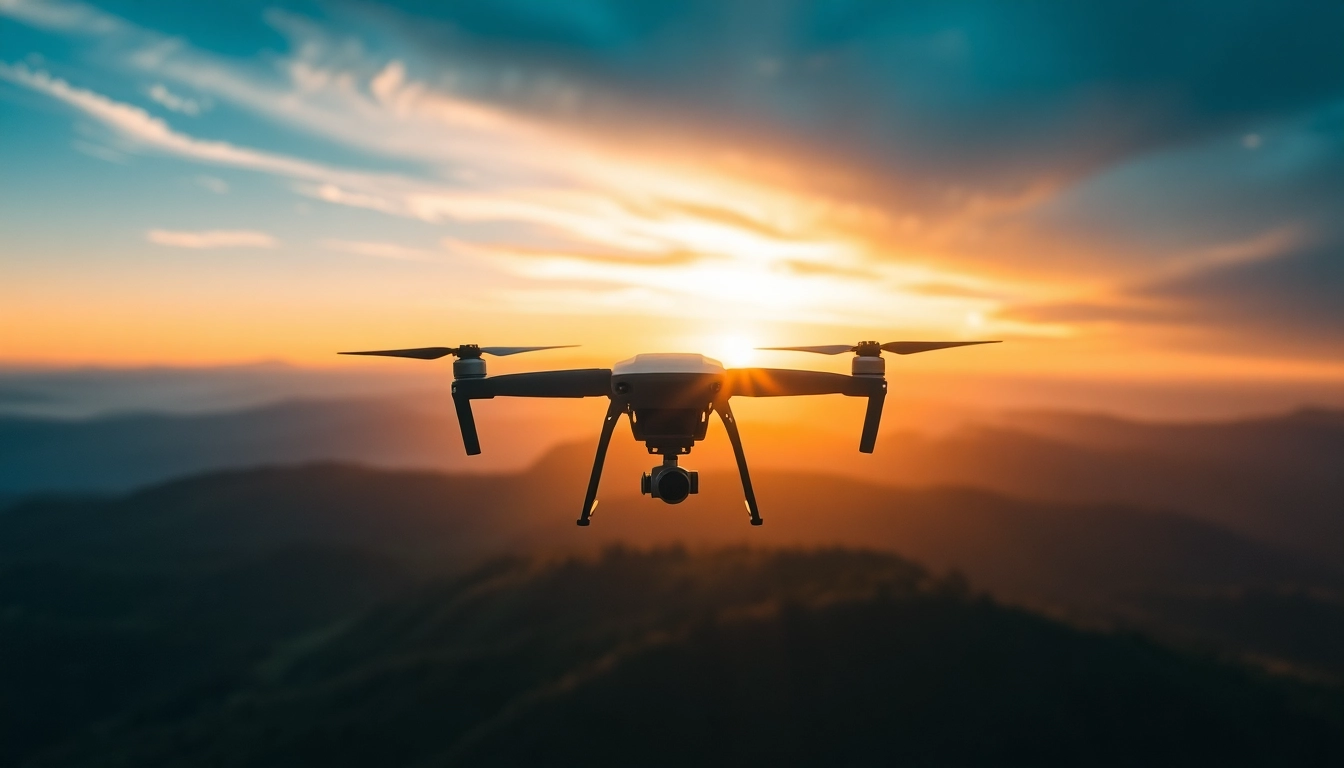
Drone photography has transformed the way we capture images, offering unparalleled perspectives and the ability to explore locations that were once too difficult or impossible to access. As technology has advanced, so has the popularity of aerial photography, allowing amateur and professional photographers alike to document the world from above. In this guide, we will delve into essential drone photography tips, exploring various aspects from understanding your drone’s capabilities to advanced photography techniques and post-processing tips.
Benefits of Aerial Photography
Aerial photography opens up a plethora of opportunities for capturing unique images. Some of the most notable benefits include:
- Unique Perspectives: Drones provide viewpoints that are not achievable through traditional photography, allowing for breathtaking landscape captures and dynamic compositions.
- Creative Freedom: With the ability to fly at varying altitudes and angles, photographers can experiment with various styles and techniques to develop their unique photographic voice.
- Access to Difficult Locations: Drones enable photographers to photograph places that are often difficult to reach, such as rugged terrains, remote islands, and inaccessible architectural structures.
- Cost-Effective Production: Compared to hiring a helicopter or crane, drones are a budget-friendly alternative, making professional-quality aerial photography more accessible to everyone.
Understanding Your Drone’s Capabilities
Before venturing into the skies, it’s crucial to understand your drone’s specifications and capabilities. Familiarize yourself with the following aspects:
- Flight Time: Know how long your drone can stay in the air on a single battery charge to plan your shoots effectively.
- Camera Specifications: Understand the camera’s resolution, sensor size, and features, such as image stabilization or HDR, as these will significantly affect the quality of your images.
- Control Range: Be aware of how far your drone can fly from the controller without losing connection to maintain safety and image quality.
- Weather Resistance: Check if your drone is weatherproof or rain-resistant, which may dictate your flying conditions.
Basics of Composition in Drone Shots
Composition plays a crucial role in photography, particularly from such high vantage points. Some key compositional techniques to consider include:
- Rule of Thirds: Divide your frame into a 3×3 grid and position the subject along the lines or at the intersections for a well-balanced shot.
- Leading Lines: Use natural lines in the landscape, such as rivers or roads, to draw the viewer’s eye into the image.
- Symmetry and Patterns: Look for symmetry or repeating patterns to create a pleasing and harmonious composition.
- Framing: Use elements in the foreground to frame the main subject, adding depth and context to your images.
Essential Drone Photography Tips for Beginners
Getting Started: Choosing the Right Drone
Choosing the right drone can be daunting, especially for beginners. Here are some factors to consider:
- Budget: Determine how much you are willing to spend. Entry-level drones can provide excellent features without breaking the bank.
- Camera Quality: Look for drones with high-resolution cameras and gimbals for stability.
- Ease of Use: Consider drones that have beginner-friendly features such as auto-takeoff and return-to-home functions.
- Flight Stability: Stability is key for quality images; look for drones with GPS-assisted flight and altitude hold capabilities.
Pre-Flight Checklist for Safety
Safety should always be a primary concern when flying a drone. A good pre-flight checklist can prevent accidents and ensure a smooth flying experience:
- Battery Check: Ensure that both the drone and controller batteries are fully charged.
- Weather Assessment: Verify that weather conditions are favorable for flying, avoiding strong winds or rain.
- Area Inspection: Make sure the flying area is clear of obstacles such as trees and power lines.
- Firmware Updates: Check if your drone needs any software updates for optimal performance.
Basic Camera Settings to Know
Understanding your drone’s camera settings will significantly affect the quality of your photographs. Here are some basics you should know:
- ISO: Keep ISO settings as low as possible to avoid noise in your images.
- Shutter Speed: Adjust shutter speed to reduce motion blur and ensure you capture sharp images, especially at higher altitudes.
- Aperture Settings: Play with aperture to control depth of field; a wider aperture can achieve a blurred background effect, while a smaller one increases the depth of focus.
- White Balance: Set white balance according to the shooting conditions to ensure accurate color representation in your photos.
Advanced Drone Photography Techniques
Mastering Golden Hour for Photos
The golden hour — the time shortly after sunrise and before sunset — is the perfect time for aerial photography. The soft lighting creates stunning shadows and enhances colors in your images. Here are tips for leveraging golden hour:
- Plan Your Shoot: Use apps to determine the timing of the golden hour at your location.
- Experiment with Angles: Capture images from varying altitudes and angles to find the best light.
- Use HDR Settings: High Dynamic Range can help bring out the details in both shadows and highlights during this time.
Utilizing Filters for Enhanced Quality
Using filters can enhance the quality of your aerial photographs significantly. Here’s how:
- ND Filters: Neutral Density filters help reduce the amount of light entering the lens, allowing for slower shutter speeds and smoother videos.
- Polarizers: These reduce glare and reflections, particularly useful when photographing water or wet surfaces.
- Graduated Filters: Graduated filters help manage the exposure difference between the ground and sky, ensuring a balanced exposure across your image.
Incorporating Movement for Dynamic Shots
Incorporating movement into your shots can create dynamism and life in your images. Strategies include:
- Drone Movement: Experiment with tracking shots, dolly zooms, or circling around a subject to show depth and context.
- Time-Lapse Photography: Set your drone to capture images at set intervals for a time-lapse effect to show moving patterns, such as clouds or traffic.
- Panoramic Sweeps: Slowly pan the camera while the drone is in motion to capture sweeping panoramic images of vast landscapes.
Post-Processing Tips for Aerial Images
Best Software for Drone Photo Editing
Editing your aerial photographs can elevate them from ordinary to extraordinary. Consider using these popular software options:
- Adobe Lightroom: Excellent for making basic edits like exposure adjustments and color corrections.
- Adobe Photoshop: Ideal for advanced edits, including retouching and layer-based edits.
- Capture One: Offers powerful color grading and tethering capabilities, preferred by many professional photographers.
- Darktable: A free alternative to Lightroom with powerful editing capabilities for RAW images.
Enhancing Colors and Details
Enhancing the colors and details in your drone images can make them pop. Here are techniques to apply:
- Color Correction: Correct any color imbalances and enhance saturation carefully to avoid unrealistic colors.
- Contrast Adjustment: Increasing contrast can add depth and drama to your images; use sparingly to maintain a natural look.
- Sharpening: Use sharpening tools to bring out the fine details, particularly in landscapes where textures like trees or rocks are key.
Creating Stunning Panoramic Images
Capturing panoramic images can provide sweeping views that standard photos cannot achieve. Follow these tips:
- Overlap Shots: When capturing multiple images for a panorama, ensure you have about 30% overlap between each shot for easier stitching.
- Level Horizon: Keep your drone level and steady during captures to avoid distortion.
- Use Editing Software: Use panoramic stitching tools available in software like Lightroom or specialized programs to combine images seamlessly.
Common Challenges and Solutions in Drone Photography
Dealing with Weather Conditions
Weather can significantly impact drone photography. Here’s how to navigate common weather-related challenges:
- Windy Conditions: Avoid flying during strong winds as even small gusts can lead to stability issues. A good rule is to not fly if winds exceed 15 mph.
- Rain and Snow: If your drone isn’t designed for wet conditions, it’s best to avoid flying in rain or snow to prevent damage.
- Low Light: When shooting in low light, consider using higher ISO settings, but balance them carefully to prevent noise.
Avoiding Common Drone Mistakes
Even experienced pilots can make mistakes. Here are common errors and how to avoid them:
- Not Checking Regulations: Always ensure you’re aware of and comply with any local drone regulations and restrictions.
- Over-reliance on Automation: While drones offer auto features, understanding manual control is essential for creative shooting and emergencies.
- Neglecting Battery Management: Always monitor your battery levels and land the drone with plenty of power to spare.
Ensuring Legal Compliance while Flying
Understanding drone laws is vital in maintaining safety and legality in your photography practice:
- Registration: Ensure your drone is registered if it exceeds the required weight limit as per local regulations.
- Airspace Awareness: Familiarize yourself with Controlled Airspace rules and ensure you aren’t flying within no-fly zones.
- Privacy Considerations: Respect people’s privacy and obtain permission where necessary to avoid legal repercussions.
