Understanding the Starlink Mini Flat Mount
Overview of the Mount’s Features
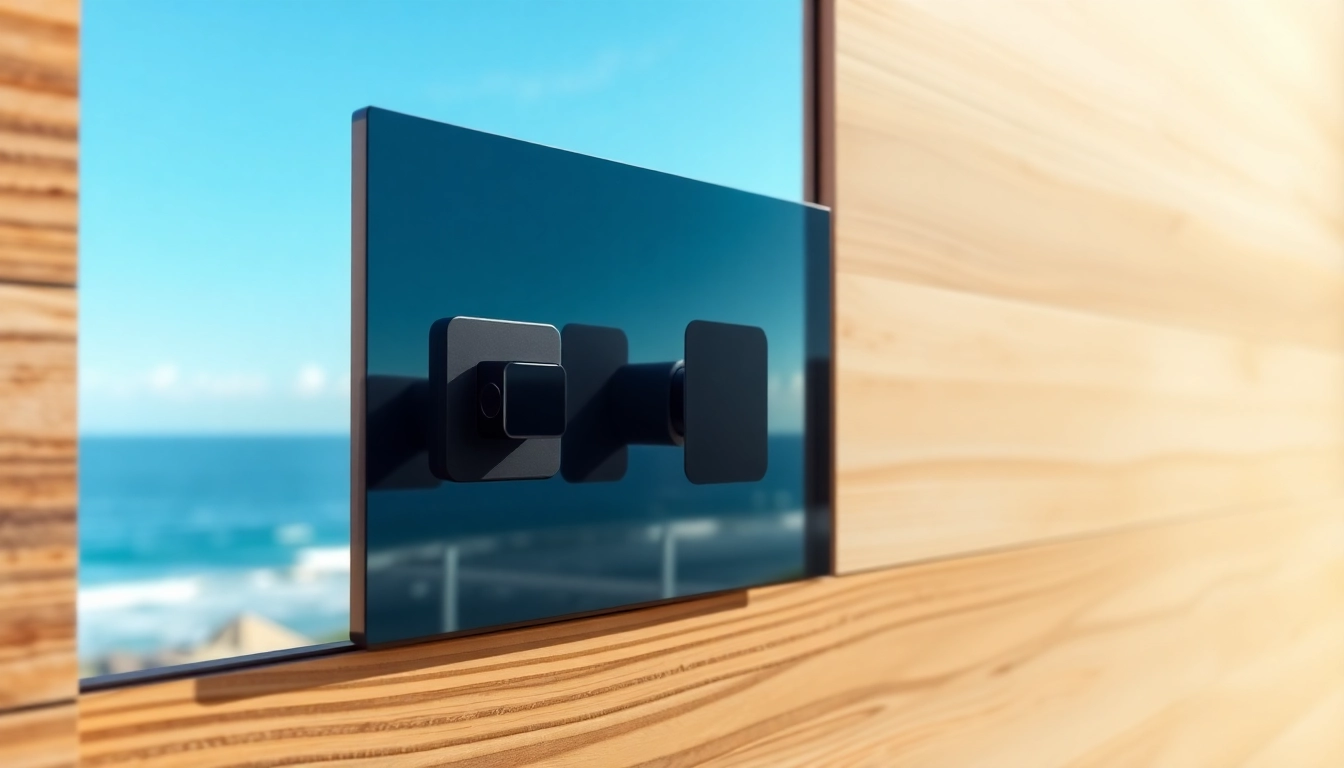
The starlink mini flat mount is engineered with versatility and efficiency in mind, designed specifically to accommodate the unique requirements of Starlink satellite systems. Constructed from durable materials, the mount is built to withstand various environmental conditions while providing stable support for the antenna. Key features include a lightweight design that facilitates easy transportation and installation, adjustable mounting angles for optimal signal reception, and compact size, ensuring minimal aesthetic disruption in residential or commercial settings.
Benefits of Using Starlink Mini Flat Mount
Utilizing the starlink mini flat mount offers numerous advantages tailored to enhance user experience and signal productivity:
- Enhanced Signal Reception: The mount allows for precise adjustments, enabling optimal positioning for maximum signal strength from Starlink satellites.
- Weather Resilience: Constructed with materials designed to endure harsh weather conditions, the mount ensures reliable and consistent internet connectivity.
- Versatile Installation: The flat design allows for mounting on various surfaces, enabling installation on rooftops, walls, or even poles where space is a constraint.
- Improved Aesthetic Appeal: Its sleek profile blends well with most architectural styles, making it a visually appealing option for installations.
Compatibility with Various Settings
The starlink mini flat mount is adaptable to multiple environments, whether residential, commercial, or industrial. Its compatibility extends to various installation surfaces, including:
- Residential Roofs: Ideal for homeowners seeking effective solutions for rural internet connectivity.
- Commercial Buildings: Businesses in remote areas can utilize this mount to ensure reliable bandwidth for operations.
- Remote Work Sites: Construction or field offices can benefit from the quick setup and consistent internet access that the mount provides.
- Recreational Vehicles: Many outdoor enthusiasts find the compact nature of the mount perfect for mobile setups.
Step-by-Step Installation Guide
Preparing the Installation Area
Before installing the starlink mini flat mount, it is essential to select the right location that maximizes signal strength. Consider these steps:
- Identify an area free from obstructions like tall trees or buildings.
- Ensure the surface is stable and capable of supporting the mount securely.
- Evaluate accessibility in relation to power cable routing.
Tools Required for the Installation
To facilitate a smooth installation, ensure you have the following tools on hand:
- Drill with appropriate drill bits
- Screwdriver (manual or power)
- Level to ensure proper alignment
- Tape measure for accurate positioning
- Personal protective equipment (e.g., gloves and safety goggles)
Instructions for Proper Mounting
Follow these comprehensive steps to effectively mount the starlink mini flat mount:
- Using the tape measure, mark the position on the surface where the mount will be installed.
- Drill holes according to the specifications of the mount’s base plate.
- Secure the mount in place using appropriate screws provided in the installation kit, ensuring the mount is level.
- Attach the Starlink antenna to the mounted bracket following the manufacturer’s guidelines for orientation.
- Connect the power cable, ensuring it is neat, secure, and weatherproofed.
Best Practices for Optimal Performance
Positioning for Maximum Signal Strength
Proper positioning of the starlink mini flat mount is crucial for optimal performance. Here are some best practices you can follow:
- Aim for a clear line of sight to the sky—higher placements often yield better results.
- Use satellite tracking apps to determine the most effective angle based on your geographical location.
- Regularly check for obstructions from foliage or new constructions that may affect signal strength over time.
Weatherproofing and Maintenance Tips
To maintain performance integrity, ensure your installation is safeguarded against environmental hazards:
- Apply weather-resistant sealants to joints and exposed areas to prevent moisture intrusion.
- Conduct routine inspections to clear any debris or snow accumulation that might block signal pathways.
- Consider periodic maintenance check-ups to tighten screws and inspect for rust or wear.
Common Installation Mistakes to Avoid
Avoiding pitfalls during the installation process is key to achieving the best results with the starlink mini flat mount:
- Do not mount in proximity to tall structures or trees that could hinder signal reception.
- Ensure that all components are tightly secured and waterproofed to prevent damage during adverse weather.
- Always double-check measurements before drilling to avoid unnecessary errors.
Comparing Mount Types for Starlink Systems
Flat Mount vs. Pole Mount: Pros and Cons
Understanding the differences between flat mounts and pole mounts can help users make informed decisions:
Flat Mount Pros:
- Sleek design
- Low-profile installation
- Versatility in placement
Flat Mount Cons:
- Limited height adjustment capabilities
- Potential challenges in areas with changing foliage
Pole Mount Pros:
- Ability to elevate antennas higher
- Adaptable for various terrains
Pole Mount Cons:
- More complex installation process
- Higher cost and material requirements
Situations Best Suited for Each Mount Type
Each mount type excels in specific scenarios:
- Flat mounts: Ideal for installations on low roofs or walls where height is not a concern.
- Pole mounts: Best for applications where clear line-of-sight is crucial, particularly in densely populated areas with many obstructions.
Pricing Considerations and Value for Money
When selecting between flat and pole mounts, it is essential to weigh both cost and performance:
- Flat mounts often have lower initial costs, making them an economical choice for many users.
- Pole mounts may be more costly but could prove to be better long-term investments in areas necessitating higher elevation for signal quality.
Real-world Use Cases and Testimonials
Success Stories from Users
Numerous users have shared their success stories after utilizing the starlink mini flat mount in their installations:
- A rural family reported significantly improved internet speeds and stability after installing the mount atop their garage.
- A small business noted that the improved connection allowed for seamless video calls and faster online transactions, consequently enhancing customer service.
Impact on Internet Performance
The performance improvements observed by users highlight the substantial impact the starlink mini flat mount can have:
- Many users recorded a 25-50% increase in speed post-installation, facilitating better streaming, browsing, and overall connectivity.
- Reduction in latency was also noted, enhancing experiences for users engaging in online gaming or other real-time applications.
Feedback on Installation Experience
Please find feedback from users concerning the installation experience through the starlink mini flat mount:
- Users often remark on the clarity and comprehensiveness of installation instructions that accompany the mount.
- Many enjoy the straightforward nature of the process, often successfully installing the mount without needing professional help.